How to Reduce Jump Stitches in Digitizing Step-by-Step
Jump stitches can make embroidery designs look untidy and increase trimming time. Reducing them helps your design run smoother and look more professional. Follow these expert tips from Unique Digitizing to minimize jump stitches in your designs.
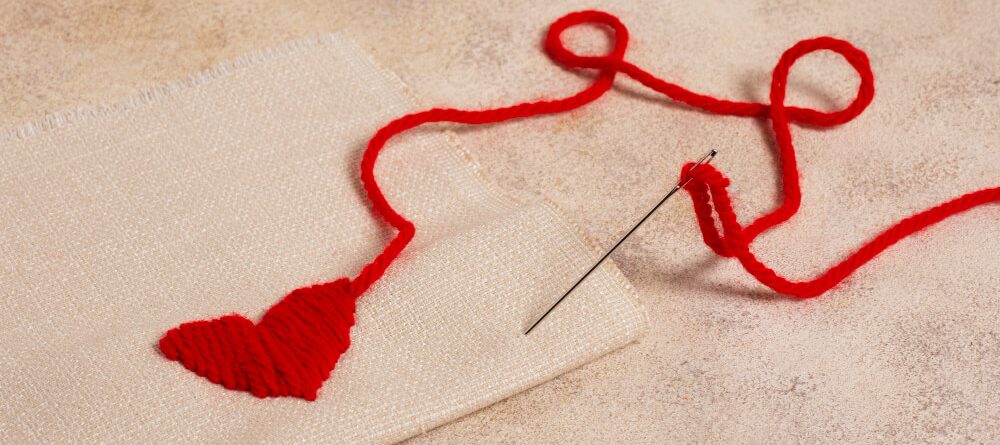
Step 1: Understand What Jump Stitches Are
- Jump stitches occur when the needle moves from one design part to another without stitching.
- They often happen between distant elements or color changes.
- Too many jumps lead to tangling, trimming, and messy finishes.
If you want to learn more about this connect with our expert for embroidery digitizing.
Step 2: Plan the Stitch Path
- Analyze the design before digitizing.
- Create a logical stitching order to reduce travel distance.
- Begin from one side and move gradually to the other.
- A well-planned path automatically reduces unnecessary jumps.
Step 3: Use Proper Object Sequencing
- Sequence objects smartly by color and position.
- Stitch similar-colored areas together before changing threads.
- Avoid jumping back and forth between small shapes.
- Keep stitching in one continuous flow whenever possible.
Step 4: Apply Tie-Off and Trim Commands
- Use tie-off commands before trimming to secure threads.
- Set automatic trims for small jump stitches in your software.
- Avoid excessive trims that slow production time.
- Proper trimming improves both appearance and durability.
Step 5: Adjust Entry and Exit Points
- Choose entry and exit points that are close together.
- This minimizes travel distance between elements.
- Adjust stitch angles for a smoother transition.
- Efficient entry and exit planning keeps your design neat.
Step 6: Use Underlay Stitches Strategically
- Underlay stitches create a base for top stitching.
- They help connect nearby areas internally.
- Plan underlay paths that reduce visible jumps.
- Use edge-run or center-run underlay types for best control.
Step 7: Combine or Merge Small Elements
- Merge small shapes of the same color to reduce jumps.
- Combine design parts that are close together.
- Avoid isolating tiny objects that cause repeated jumps.
- Fewer separate areas mean smoother embroidery motion.
Step 8: Use Software Optimization Tools
- Most professional software offers “minimize trims” or “connect closest object” options.
- Use auto-sequencing to reduce manual planning.
- Run an optimization check before saving your file.
- At Unique Digitizing, we always verify designs to ensure minimal jump stitches.
Step 9: Test Your Design Before Production
- Always run a test sew-out on a similar fabric.
- Observe machine movements and thread trimming.
- Identify and correct any unnecessary jumps.
- Testing ensures smoother production and better output.
Step 10: Work with Professional Digitizers
- Expert digitizers use precise tools to minimize jumps.
- They plan stitch paths and sequencing professionally.
- At Unique Digitizing, our team creates files optimized for speed, clarity, and machine performance.
- Save time and achieve cleaner results by trusting professionals.
Why Reducing Jump Stitches Matters
- Gives a cleaner, more professional finish.
- Reduces machine time and boosts productivity.
- Prevents thread breaks and lint buildup.
- Improves design durability and overall look.
Learn More About: Custom Embroidery Digitizing for Branding
FAQs
What are jump stitches in embroidery digitizing?
They are thread movements between two separate stitching areas. Jump stitches occur when the needle travels without stitching.
Can software automatically remove jump stitches?
Yes, most software has “minimize trims” or “connect closest object” tools to reduce them.
Do jump stitches affect design quality?
Yes, too many jumps make embroidery messy and increase trimming time.
How can I manually reduce jump stitches?
Plan stitch flow, adjust entry/exit points, and use correct sequencing. Always test the design before final production.
Can professional digitizing services help?
Definitely. Unique Digitizing uses advanced software and experienced techniques to reduce jump stitches effectively.
In Conclusion
Reducing jump stitches enhances design quality and saves time. If we do it with proper planning, sequencing, and testing ensure smoother runs. You can trust Unique Digitizing to deliver clean, optimized embroidery files with minimal jumps and perfect results every time.


Leave a Reply