How to Start an Embroidery Digitizing Business
Starting an embroidery digitizing business can be a strong opportunity if you understand design software, embroidery machines, and customer needs. This industry supports fashion brands, apparel companies, sportswear businesses, and promotional product suppliers. The demand for clean, production-ready stitch files keeps growing, especially in online freelancing and custom apparel markets.
At Unique Digitize, we work with global clients and understand what it takes to run a successful digitizing workflow.
Step 1: Learn Embroidery Digitizing Basics
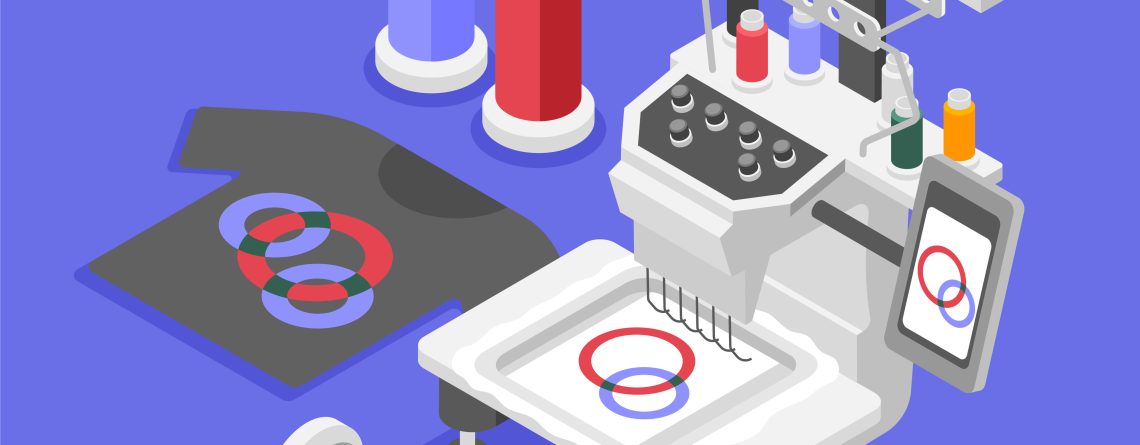
Before starting a business, you must understand how digitizing works. Embroidery digitizing is the process of converting artwork into stitch files that embroidery machines can read.
You should learn:
- Stitch types (satin, fill, running stitch)
- Underlay settings
- Stitch density control
- Pull compensation
A strong foundation helps you avoid poor-quality outputs that can damage your reputation.
You can explore more technical services like Embroidery Digitizing Services to understand professional standards.
Step 2: Get the Right Software and Tools
You need professional software to start digitizing work. Popular tools include Wilcom, Hatch, and CorelDRAW (for vector preparation).
A good setup also includes:
- A powerful computer
- A mouse or digitizing tablet
- Sample embroidery machine (optional but helpful)
Without proper tools, your workflow will be slow and less accurate.
Step 3: Practice with Simple Designs
Start by practicing simple logos and text-based designs. Avoid complex artwork in the beginning. Focus on clean stitch paths and smooth outlines.
Practice improves your understanding of how designs behave on different fabrics like cotton, polyester, and denim.
You can study professional output styles at Logo Digitizing Services and Left Chest Digitizing.
Step 4: Understand Fabric Behavior
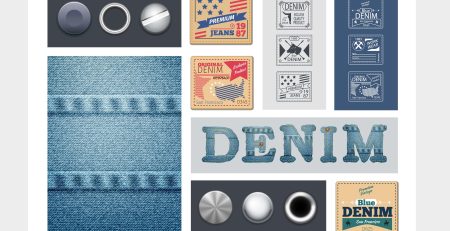
A successful digitizer knows that every fabric reacts differently. Cotton is stable, polyester stretches, denim is thick, and leather is sensitive.
Adjusting stitch settings based on fabric is key to avoiding:
- Puckering
- Thread breaks
- Distorted designs
For advanced techniques, explore Custom Digitizing Services.
Step 5: Build a Portfolio
Clients trust your work based on your samples. Create a portfolio with different design types:
- Logos
- Caps
- Jackets
- 3D puff designs
A strong portfolio helps you attract international clients and agencies.
You can also explore premium-quality examples at 3D Puff Embroidery Digitizing.
Step 6: Start Freelancing or Small Agency
Once you have practice and samples, start offering services on platforms like Fiverr, Upwork, or direct outreach to apparel businesses.
You can:
- Offer fast turnaround
- Provide revision support
- Focus on quality control
Many successful digitizing businesses start as small freelance setups before scaling into agencies.
Step 7: Scale Your Business
As your client base grows, you can expand by:
- Hiring junior digitizers
- Offering vector art services
- Adding rush delivery options
- Providing bulk discounts
You can explore advanced production support at Vector Art Services and Contact Unique Digitize.
Final Thoughts
Starting an embroidery digitizing business requires skill, patience, and consistency. Once you understand software, fabric behavior, and customer expectations, you can build a profitable service-based business.
For reference and professional support, visit Unique Digitize.


Leave a Reply