How to Convert Hand-Drawn Sketches into Vector Art
Turning a hand-drawn sketch into clean vector art is a key step in professional design, especially for logos, embroidery digitizing, apparel branding, and print production. Vector art keeps your design sharp at any size, while sketches lose quality when scaled. That’s why designers convert drawings into vector format before using them in production.
At Unique Digitize, we handle professional vector conversion with clean lines, proper shapes, and production-ready files.
Explore our service here: Vector Art Services.
Step 1: Scan or Capture Your Sketch Properly
The first step is to convert your drawing into a high-quality digital image. Use a scanner if possible because it gives better clarity than a phone camera. If you use a phone, make sure the lighting is even and the sketch is not blurry.
A clear image helps maintain original details during conversion. Poor quality input will always reduce final vector accuracy.
Step 2: Import the Sketch into Vector Software
Once your sketch is ready, import it into professional software like Adobe Illustrator or CorelDRAW. Lock the sketch layer so you can trace over it without moving the original image.
This step forms the base of your vector artwork and ensures you maintain proportions while redrawing.
Step 3: Trace the Design Using Pen Tool
Now begin tracing your sketch using the pen tool. This is the most important step in vector conversion. Instead of copying rough lines, create smooth curves and clean anchor points.
Good vector art avoids unnecessary points. Fewer points mean smoother curves and better scalability for embroidery and printing.
Step 4: Refine Shapes and Clean Lines
After tracing, refine the design by adjusting curves, removing extra anchor points, and correcting symmetry. This step improves the overall look and makes the vector file professional.
You can also adjust line thickness and spacing depending on how the artwork will be used later in embroidery or print.
Learn more about production-ready design at Custom Digitizing Services.
Step 5: Add Colors and Final Adjustments
Once the outline is complete, add colors if needed. Make sure you use solid color fills instead of gradients if the vector is meant for embroidery or screen printing.
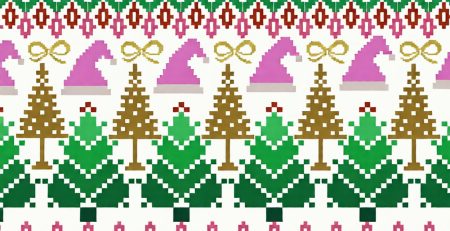
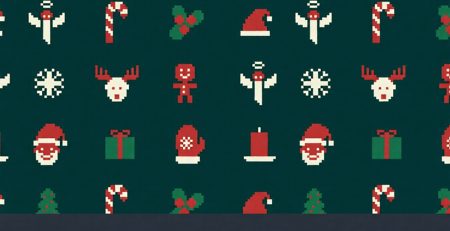
For embroidery use, designs should remain simple and clear because machines cannot reproduce complex shading easily.
Step 6: Export in the Right Format
After finalizing the design, export it in formats like AI, EPS, PDF, or SVG. These formats keep the design scalable without losing quality.
If the vector is meant for embroidery, it may later be converted into stitch files like DST or PES.
You can also explore embroidery-ready services here: Embroidery Digitizing Services.
Why Vector Conversion Matters
Hand-drawn sketches are great for creativity, but they are not production-ready. Vector conversion ensures your design stays sharp, scalable, and usable across multiple platforms like apparel, branding, and embroidery.
At Unique Digitize, every sketch is carefully redrawn manually to ensure clean edges, balanced shapes, and professional output.
Final Thoughts
Converting hand-drawn sketches into vector art is not just tracing—it is redesigning the artwork for professional use. A properly converted vector file improves embroidery quality, printing accuracy, and brand presentation.
For professional results, always rely on expert vector conversion services like Unique Digitize.

Leave a Reply